eScreen123™ Donor Check-In
There are multiple ways to check in a donor in the eScreen123 system. Your check-in method will be driven by the donor’s authorization form. There also methods to check in a donor with an authorization form, which will be explained in this document.
ePassport™ or PeoplePass
The following instructions apply to scenarios where the donor presents with one of following barcodes:
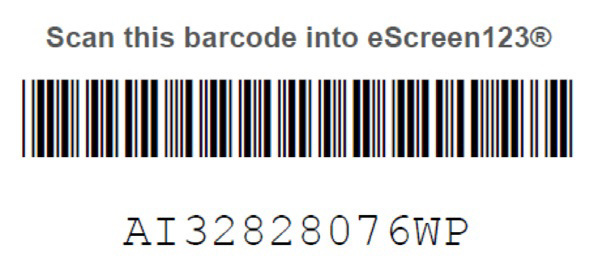
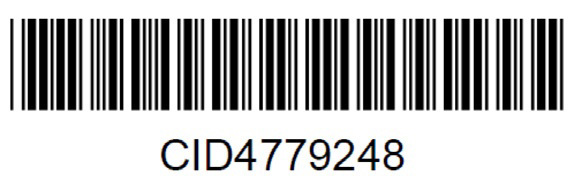
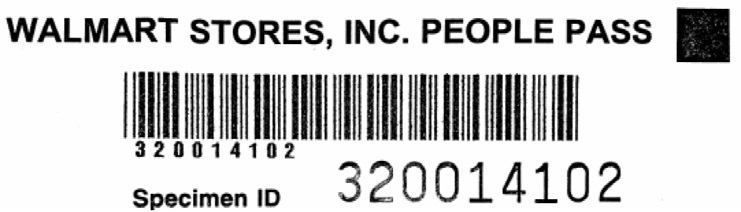

- From the Donor waiting list, ensure that ePassport or PeoplePass is selected in the dropdown.
- Scan the barcode into the Scan or enter barcode field.
NEXT STEPS EPASSPORT
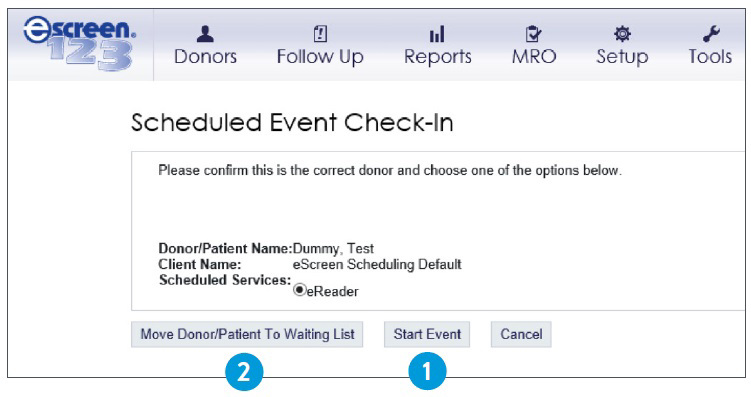
- Click Start Event if you are ready to begin the test.
- Click Move Donor/Patient To Waiting List if you are not ready to begin the test.
NEXT STEPS GENERIC PASSPORT/PEOPLE PASS

- Select the account that displays on the next page.
- Please note: You will need to manually enter all of the donor’s information with these check-in methods.
Chain of custody form
The following instructions apply to scenarios where the donor presents with a chain of custody form. The lab account number on the chain of custody form can be used to locate the account.
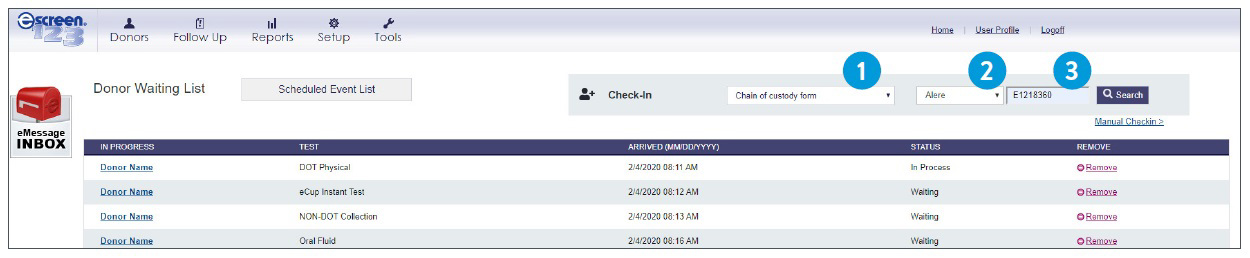
- From the Donor waiting list, select Chain of custody form in the dropdown.
- Select the correct lab in the second dropdown.
- Scan or enter the lab account number into the Lab account # field.
Click search if you have typed in the number.
- Select the account that displays on the next page.
- Please note: You will need to manually enter all of the donor’s information with this check-in method.
Manual Check-In
The following instructions apply to scenarios when the donor does not present with any paperwork.
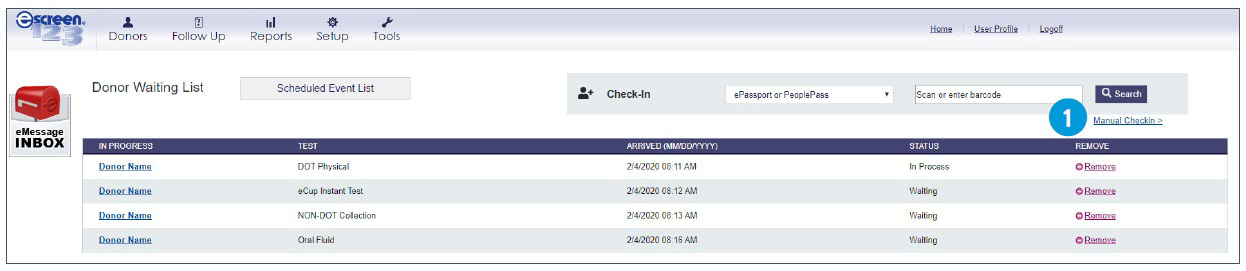
- From the Donor waiting list, click Manual Check-In.
MANUALLY LOOK UP LOCALLY MANAGED/ASSOCIATED CLIENTS

- To look up one of your locally managed clinic clients or associated accounts, you can simply type in the Employer Name or eScreen Account.
- Click Find Employer.
- Select the account that displays.
- Please note: You will need to manually enter all of the donor’s information on the following page.
MANUALLY LOOK UP ESCREEN NATIONAL ACCOUNTS
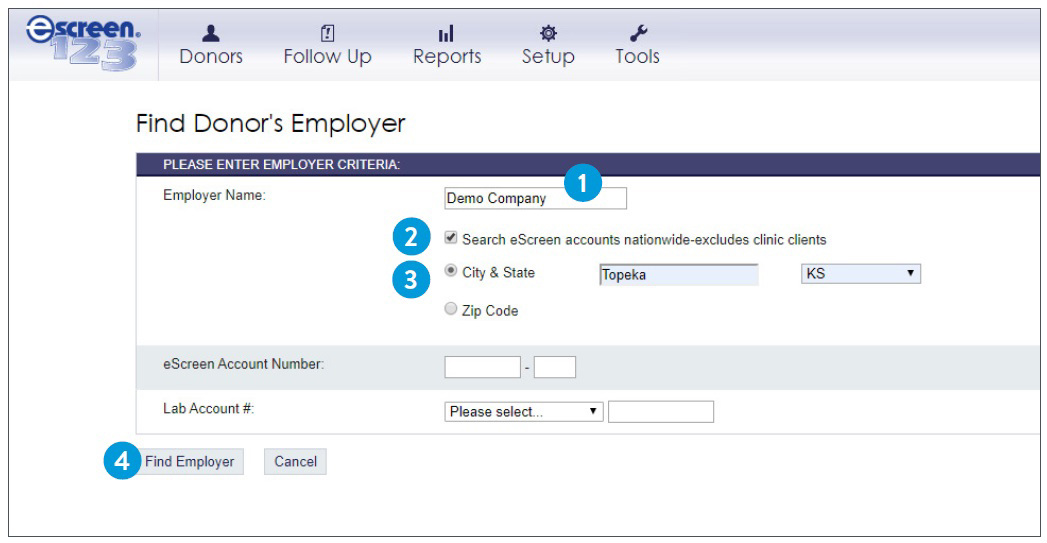
- To look up an eScreen National Account, type in the Employer’s Name.
- Select the Search eScreen accounts nationwide checkbox.
- Select either City & State or Zip Code. One of these will be used to narrow your search results.
- After you enter the City & State or Zip Code, click Find Employer and select the employer that displays below.
- Please note: You will need to manually enter all of the donor’s information on the following page.
MANUALLY LOOK UP ESCREEN NATIONAL ACCOUNTS WITH THE LAB ACCOUNT
This page can also be used to manually look up the account, using the Lab Account number.
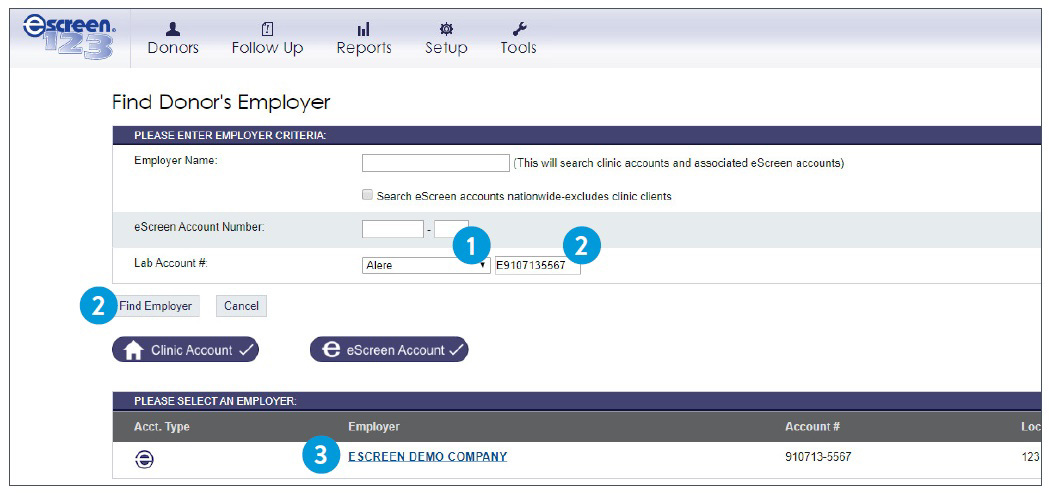
- Select the Lab.
- Enter the Lab Account Number, and click Find employer.
- Select the employer that displays below.
- Please note: You will need to manually enter all of the donor’s information on the following page.
Check the status of a specimen ID
In the event that you need to verify if an instant test was “Send to Lab” or “Discard,” the Donor Waiting List check-in tool can be used.
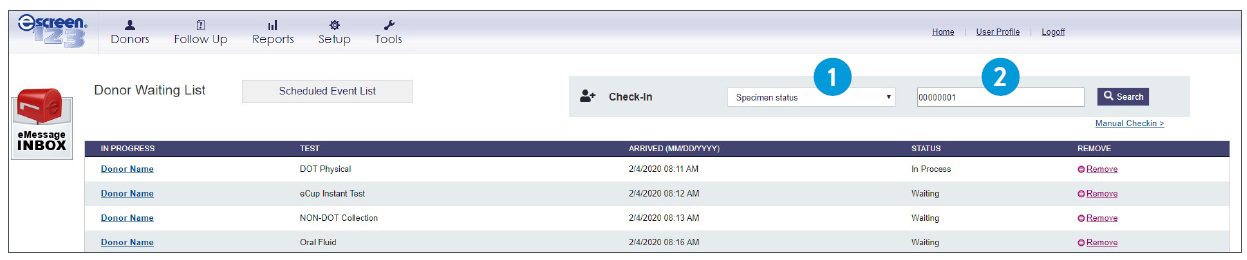
- From the Donor waiting list, select Specimen status in the dropdown.
- Scan the specimen ID number from the instant test in question in the Scan or enter barcode field.
- The following page will display if the instant test needs to be a “Discard” or “Send to Lab.”
FOR INFORMATION, CONTACT YOUR DEDICATED ESCREEN REPRESENTATIVE OR CLIENT SERVICES AT 800-881-0722, OPTION 5, OR VISIT ESCREEN.COM.